Showing posts with label DIY Little girls hairdos. Show all posts

Monday, September 15, 2014

Toddler Braids and Twists

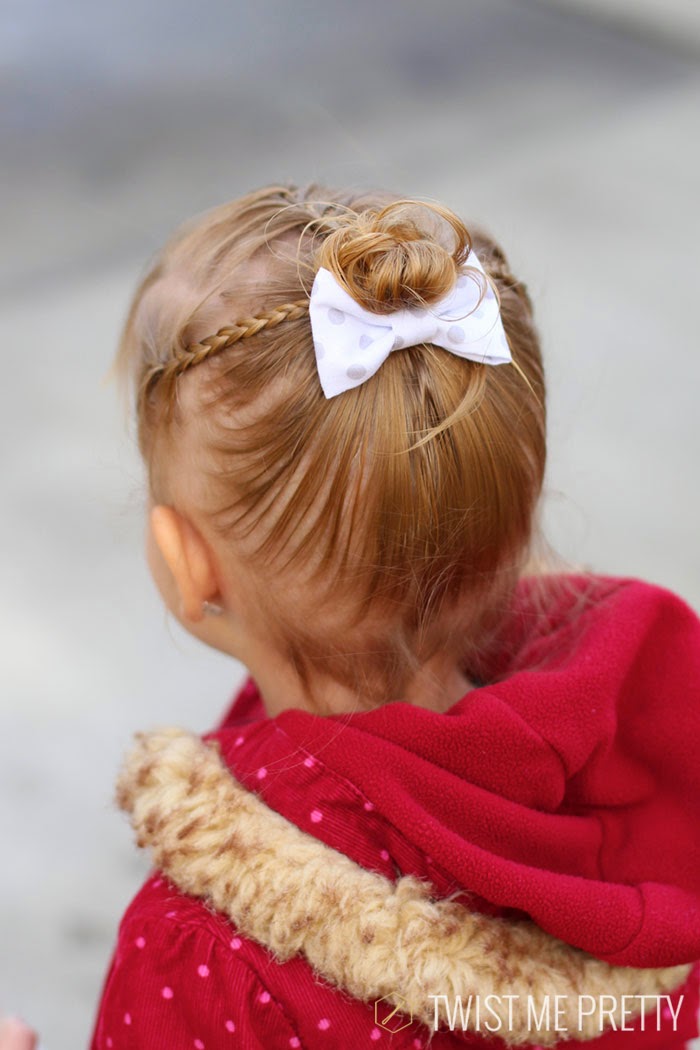
Finding a cute, stylish hairdo for your toddler girl can be challenging, and is by far the most popular on my blog. So I thought I would post some new styles, featuring toddler's fine, wispy hair pulled back into adorable twists and braids. The trick is to start with wet hair, and have lots of hair gel (not spray gel) on hand. 

If your little girl has a hard time sitting still, like mine, I would gather snacks and put on a movie or favorite tv show to distract her and help her hold still. These styles are nice because they don't involve any heat, like curling irons or flat irons. 

Styles tend to look cleaner if you take the time to get parts very straight, which is also much easier with wet hair and gel or pomade. Note: If using pomade, a tiny bit goes a very long way!

 
Toddler french twists and braids: http://www.twistmepretty.com/2014/05/whispy-toddler-hairstyles.html
French Ponytail for Toddlers: http://www.onefunmom.com

Uneven Rope-Twist Style: http://babesinhairland.com/hairstyles/uneven-ropetwist-braid-style-video/

Wednesday, April 9, 2014

Toddler Hair Twisted Updo Tutorial

Gorgeous little girls Updo hairstyle tutorial, perfect for spring!


Items Needed:
  • 1 ponytail holder
  • bobby pins
First Step: Separate your child’s hair into 3 sections.
Second Step: Tie the middle section into a low pony.
Third Step: After tying the middle section into a low pony…Then pull the ponytail holder halfway down. Twist the bottom of the hair from the section with the ponytail. Twist it up and tuck under the pony and secure it with bobby pins. Make sure the ponytail holder is not showing.
Fourth Step: Twist each side section and add it to the middle section twist, then secure with bobby pins. Voila, your done!


originally posted by kenziepoo...


Wednesday, April 2, 2014

Spring 2014 Hairstyles for Toddlers

Moms of Toddlers always seem to be searching for new, creative hairstyles for their little girls so here are some new ideas for the spring season!


Monday, December 30, 2013

Toddler Hair Tutorial


1. First part hair into 4 sections. Starting from top of your head dow to each ear. This makes the two front sections.
2. Split the back of the hair into two parts. This does not need to be precise. Now, I like to put a little product on my hands. Just a little bit to help your hands stick to their hair and give you more control. Nothing wet or sticky, just a little tacky.
Here are some ideas of products that work well:  bumble and bumble grooming creme or Paul Mitchell Shaping Creme
Holiday Hair for Kids 13 & 4.  Then you want to tie the back two pieces into a knot. Nice and low.
Holiday Hair for Kids 2

5.  Continue  to tie knots until you run out of hair. Do this as tight as you can. It will loosen up on it’s own.
6, 7 & 8. Then finish with a rubber band and tuck end under and secure with a bobby pin.
9. Take one of the side peices and wrap it over the top of the knot and then around and under it and secure it with a bobby pin. Repeat with other side. This will cover up the space ubove the knot. It is easier with longer hair. If you are doing this with shorter hair, and it wont wrap all the way around and under, you can pin it into the knot.
_MG_3448 2

_MG_3447 2
10. It is ok if it is loose. That is kind of the look. It doesn’t need to be perfect. Just try and hide all your bobby pins. You can pin up more of the front peices if you like.
Kids holiday hair final 1

11. I like using shorter bobby pins for little ones. I cannot find a link for them but you can get them at Sally’s Beauty Supply. One brand is Strictly Professional. If you prefer the regular size ones these are the best. They stay closed  really well and are great bang for your buck.
Holiday Hair for kids 3


kids hair 2013

now here it is on longer hair. ruby is four. her hair is long and pretty thick for her age.

For a how-to on doing this style on older girls and thicker, longer hair, visit thebluecloset.com.

Monday, April 1, 2013

Dance Performance Hairstyles for Girls

Since everyone seems to be getting ready for their spring/summer dance performances or competitions, I thought I'd post some inspiration for girls hair and dance accessories. These are from Weissman Costumes, which has the cutest outfits for little girls dance performances. 

Monday, October 8, 2012

Barbie-Inspired Party from TomKatStudio

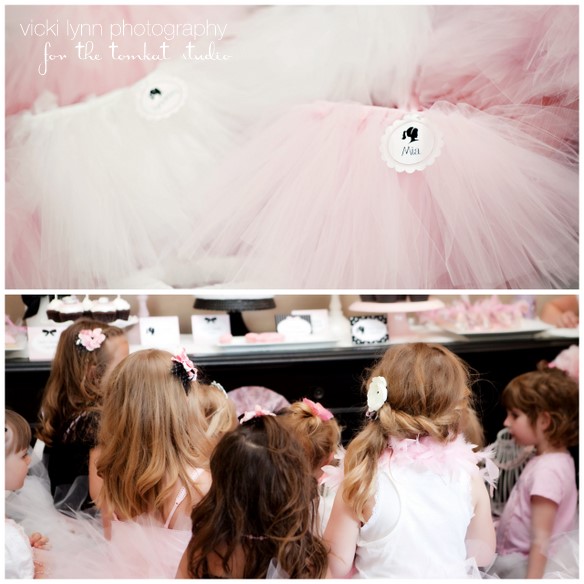
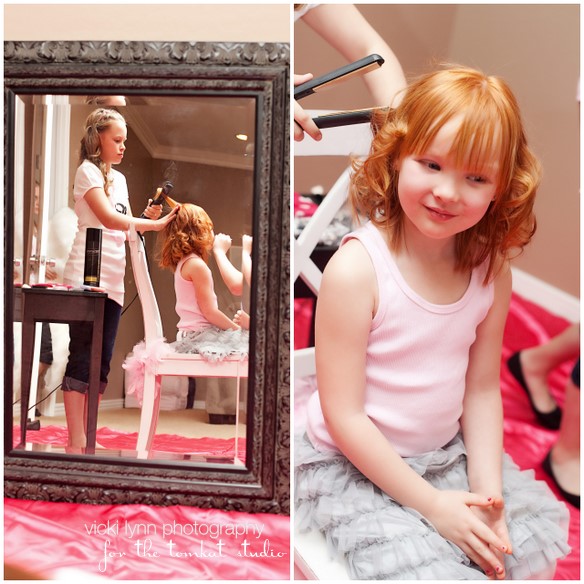
I had to share with you this Glamour Girl in Paris ... Barbie Inspired Party from TomKatStudio, where the girls were glammed up with mini-makeovers before the party!
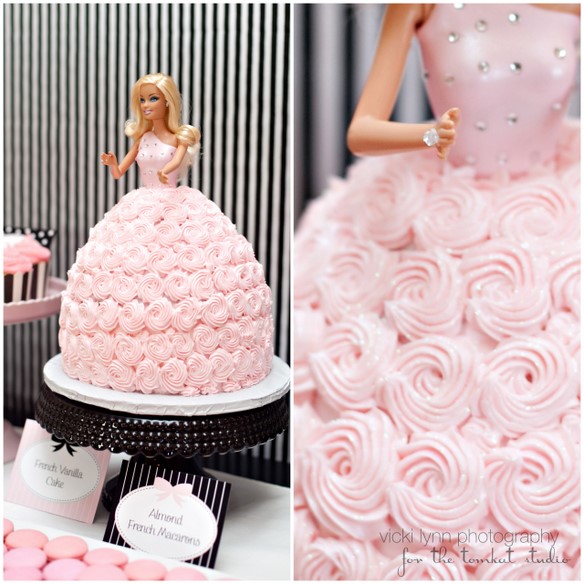
With an unbelievable beautiful pale pink Barbie cake...
And complete with glamorous headshots with bows from Banner Boutique
See more of this 4-year-old's birthday party and makeovers at TomKatStudio!

Wednesday, September 26, 2012

Hair Tutorial: Classic Wave Hairstyle For Girls

This is a special occasion style that anyone can achieve. It will suit nearly any wedding theme and leaves room for accessories such as flowers and headbands. Our celebrity stylist Kota dressed this look two ways to create different looks for classic and romantic weddings Read this entry to see how you can create this hairstyle for girls at home.

Step one:
Brush hair out to match natural part, our mini-model Tinkerbell’s hair naturally falls into a side part. For this look we are trying to create a more defined curl, so use a smaller barrel and use smaller sections than you would for our Romantic Braid look. Spray each section lightly with hairspray before applying the tong. Hold each curl in the tong for about 10 seconds, don’t leave it too long you don’t want to burn the hair.
Step two:
For this style you don’t want to lift the hair at all, so leave the roots flat. This means leaving 2-3 inches at the root of the hair out of the tong. Flatten out any bumps left from pony tails with a cool blow dry and a barrel brush before you start working on that section of hair. 
Step Three: When you have completed the curls rub hairspray onto your hands and pull your fingers through the curls pulling hand down and away from the head. Finish the top with hairspray and use a soft bristle brush to smooth the hair behind the ears.

Accessorizing this look
This is the perfect style to finish with a sweet Alice band.
Flowers from the florist can be requested with a wire or clip fastening attached. Remove outer petals to make larger blooms more suitable for little faces. We just used bobby pins for to create this improvised floral look.
For a half-up floral style
Pull a section free from either side of the face, twist and gather the two sections and the back and pin low on the head, pin so as to maintain the shape of the twist. Cut the rose a short stem and slot into the back of the twist sliding it in on an angle, push it low so it nestles inside the hair.
Tutorial via Their Little World